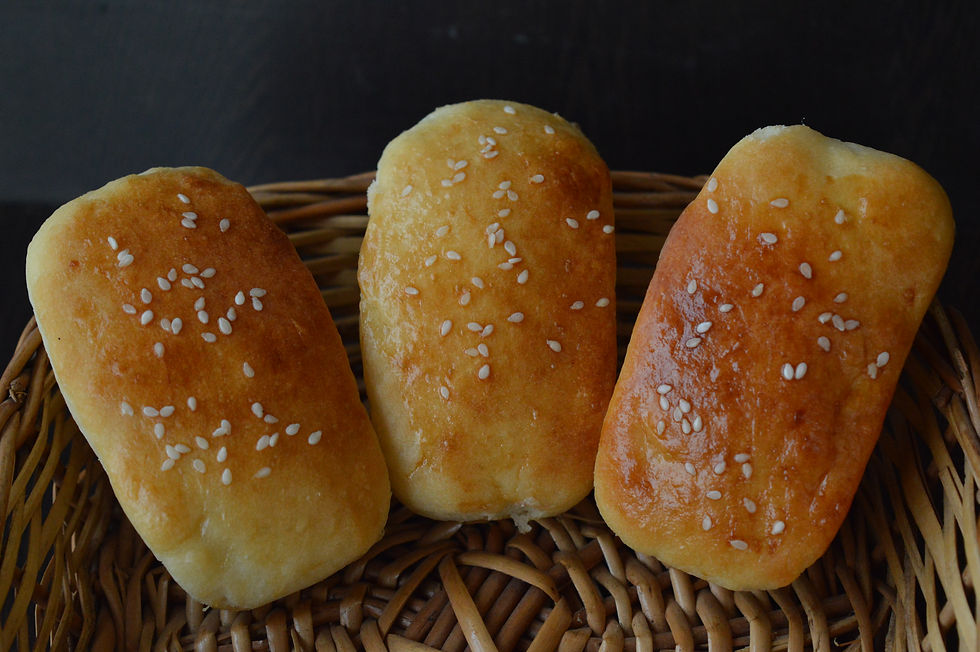
BREAD Every home baker's ultimate goal and moment of nirvana is when you've finally tamed that wild yeast. If you are a self-taught baker like me - you would surely understand and know what I mean here :) My home baking journey started with making some classic sponge cakes, cupcakes, a few simple cookies, whipped cream goodies, pies and then I finally decided to tame mighty yeast. Someone was also helpful to give me a detailed step by step recipe on how to make a starter sourdough yeast - which I happened to kill in less than a week's time due to overfeeding. And then I realised sourdough bread is not my thing - I quite do not enjoy its sour taste, so no point baking one. My first bread was so awful that I could have used in a riot to do something unlawful. That's my struggle story - but then I guess the yeast God's felt generous enough to help me with their instant kinds and voila!! There was no turning back to store brought loaves of bread since then :)

Do not ask me if there an eggless way to make that shiny, golden-brown crust appear on your bread. I have personally tried brushing my bread with milk/Butter or oil - but for me, except an egg wash, nothing else happened to give the desired results.

If you are still struggling with your bread - well do not give up!! Keep trying and you will surely get there. There are tons of video recipes on YouTube and my favourite baking book which I refer to at any given point of time is "Good Housekeeping's - The Baking Book". If you love baking all kinds of things - this recipe book is a must-have in your collection.
Now, like all my recipes here - this is a simple one to make as well :) The trick ladies is in the dough consistency, let it proof to rise, use some good quality All-Purpose flour and muster up some patience. Making bread requires loads of patience and oh the waft of a baking bread enveloping your house is absolutely priceless. And trust me - once's you get hooked onto making your own bread, you will never consume a store brought one.

Here's what you need to make my version of Mini Milk Bread loaf INGREDIENTS 250gms - All purpose flour/Maida 1/4 tsp Baking soda 1 sachet - instant dried yeast 2 tbsp - Sour curd 3 tbsp - Milk powder 2 tbsp - Sugar 1 pinch - Salt 4-5 tbsp Olive oil, plus extra for greasing the bake tins 1 cup/more - Lukewarm water White Sesame seeds for garnish One egg (this is for egg wash) - for brushing the bread prior to baking Optional - you can also stuff the dough with some jam prior to baking the loaf. Kids will love it :)

PROCEDURE 1. Sieve the All-purpose flour twice and transfer it in a large deep bowl. 2. Make a well in the centre - Add instant yeast, sugar, olive oil, curd, baking soda and mix well by using your fingers. Now your dough will look like a crumble at this stage. 3. Add in lukewarm water, little by little to knead the dough. At this stage, your dough will be sticky, but don't worry rub your hands with some extra flour and knead it to make the gluten work for about 10mins on a flat surface. 4. Transfer the dough into a container that is greased with butter/olive oil and cling wrap it. Let it sit in a warm place for about 1hr or until the dough doubles in size. (This is called proofing).
5. Now if your dough has risen well and bounces back once you poke it with your finger - it's ready to roll. 6. Roll out the dough into desired shapes or simply bake it as one big loaf. In my case, I used mini loaf tins, wherein I let the dough sit for another 30mins to rise - this is second proofing.
7. Pre-heat OTG @ 180C for 10 mins, place your baking moulds in after brushing them with some egg wash and sprinkle some sesame seeds. 8. Let the dough bake until you notice a nice, crispy, shinny golden hue at the top - this takes about 20mins or so (depending on your oven). 9. Remove the bread from the moulds immediately for cooling. 10. Serve hot or at room temperature with butter, jam or simply dunk these little beauties in your evening cuppa. Trust me - it's so indulgent to do it with a home-baked bread!!


Comments